How to configure Ghost in a Docker container and setup email

When setting up a new Portainer instance, the age-old saying starts to drift back into my mind: "Well, it works on my machine..." As I set up my networks inside Portainer and began starting up other containers, I thought I was home-free until I ran into a problem. How do you get Ghost to work correctly in a Docker container? Installing it on the host machine seems so simple, but it feels 10x more complicated in the docker install.
Problem #1: Database
Sometime last year, the Ghost docker container was updated to use a new database in production: MySQL 8. All of us with SQLite databases connected to our Ghost containers couldn't even get them to boot. Here is a fix to allow the continued use of SQLite as a database for the official Ghost docker instance.

Here is a link to download the picture if you need to enlarge it:
These variables ensure that Ghost will run using a SQLite database as a backend.
Problem #2: Email
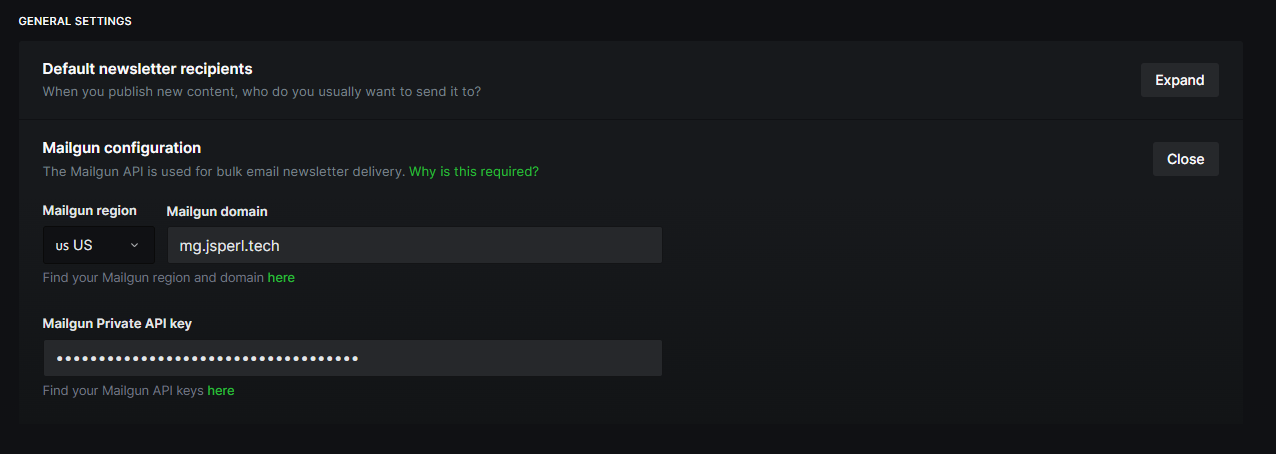
Two types of email are used in Ghost. The first is the newsletter mass email service configured via the Ghost control panel that requires Mailgun. You can find your Mailgun domain and key following the links presented in the control panel pictured below.

The second type of email is transactional email. This is where the challenging part comes in...
When signing up to become a newsletter subscriber, you are emailed a unique link with a sign-up button, and once you click that, you are all set. This email method is the transactional email service, which requires Ghost to send very few emails comparatively, but they need to be delivered quickly and reliably. Usually, these parameters are set up in the config.production.json file; however, in Docker, we alter these variables in a different way.
There is also a way to change these values in the environmental variables file (or the Portainer GUI). The picture below shows the needed environmental variables for the transactional email service to be used. Just so you know, there are two underscores between the variable names!

Like before, here is a download in case the image is too small:
The transport, host, port, and secure settings can be changed to use whatever service you want. I have tested it with AWS SES, SendGrid, and Mailgun, and all 3 services work. For the "mail from" address, be sure to change it to your correct contact information, but use the same syntax and lettering that I have used to ensure that it shows up correctly on the receiver's email account. Finally, acquire your mail provider's correct username and password and paste them into the variable value fields. Then restart Ghost, and you should be off to the races!
If this doesn't work, please check your variable names, values, and active credentials with your mail provider. This setup is a pain initially, but perfecting this allows you complete control over Ghost in the docker container while providing a complete experience for your readers.
Don't believe it works? These are screenshots from my setup. Feel free to leave a comment below or get in touch with me through the contact page. Try it now and sign up for notifications when I post a new article! Thanks for reading, and I hope this helps you fix your Ghost email woes!